
The Black Diamond PAR36 Well Light comes in three glass top variations: flat, flat grate, or angled. All glass tops are available in Black Brass or Bronze finishes. It is available without a lamp or with a PAR36 (7W 2700K 30° 675 Lumens). This well light is fitted for any of our PAR36 lamps and really comes to life with the Chameleon PAR36 for RGBW applications.
| BLACK DIAMOND PAR36 WELL LIGHT | SPECIFICATIONS |
|---|---|
| Use | Well Lighting & Underground Up Lighting |
| Finish | Top: Black or Bronze Body: Composite |
| Includes | Heavy-Duty Stainless Steel Adjustable Gimbal |
| Warranty | 10 Year Warranty on Black Diamond Fixtures |
| Order With Lamp PAR36, 7W, 2700K, 30° |
BD-WL-PAR36-FLAT BD-WL-PAR36-ANGLE BD-WL-PAR36-FLAT-GR BD-WL-PAR36-FLAT-BZ BD-WL-PAR36-ANGLE-BZ BD-WL-PAR36-FLAT-GR-BZ |
| Order Without Lamp Fits Chameleon PAR36, PAR36 |
BD-WL-PAR36-FLAT-NL BD-WL-PAR36-ANGLE-NL BD-WL-PAR36-FLAT-GR-NL BD-WL-PAR36-FLAT-BZ-NL BD-WL-PAR36-ANGLE-BZ-NL BD-WL-PAR36-FLAT-GR-BZ-NL |
INSTALLING THE LAMP
-
Loosen the thumbscrew on the lens cap and remove the lens cap and the stainless steel gimbal from inside the Black Diamond PAR36 Well Light.
-
Install the lamp and snap it into the gimbal.
-
Return the gimbal to the well light.
-
Place the lens cap and tighten the thumbscrew to protect from debris.
INSTALLING THE FIXTURE
-
Dig a hole in the ground approximately 12” wide by 14” deep.
-
Connect the power cable to the fixture, leaving 2 feet of wire coiled in the bottom of the fixture for future service.
-
Pour 8” of pea gravel in the hole.
-
Place the fixture in the center of the hole.
-
Add more pea gravel to fill the hole 1” before the fixture lip. This allows for proper drainage around the fixture.
-
Place the specified lens assembly on the top of the fixture and tighten the set screw. Use the specified lens in all applications to protect from debris.
-
Apply glass wax on top of the lens to protect against standing water.
Publicaciones de blog
-

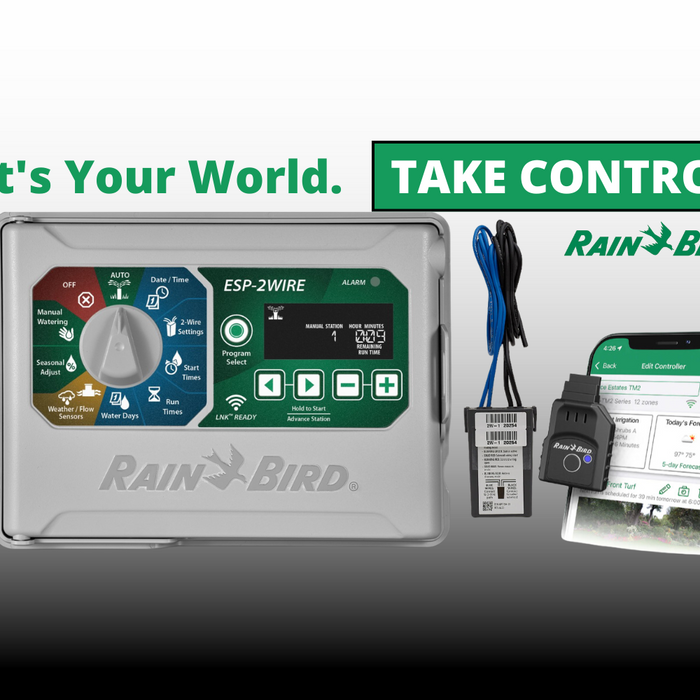
Unleashing Efficiency in Landscape Irrigation: The Rain Bird ESP-2WIRE Controller
In the evolving world of landscape management, efficiency is king. The Rain Bird ESP-2WIRE Controller emerges as a game-changer, merging advanced technology with user-friendly features to optimize irrigation practices. Let's dive into what makes the ESP-2WIRE a must-have for professionals aiming to achieve precision in irrigation without the complexities often associated with advanced systems.Leer ahora -

Leading Hospitality Brands Embrace Zafferano Lighting for Striking and Contemporary Design Impressions
Leer ahoraZafferano America's range of cordless lamps, a favorite of Oprah and Martha Stewart, (Poldina Pro) has earned the distinction of being America's most beloved brand. This acclaim comes from its classic design, the cozy, ambient lighting it offers, and the...
-

How to set up your Rinnai Central Wifi App
Leer ahoraSmart Connect Allows you to connect your smart phone or tablet to the SENSEI® RX Series via Bluetooth®. Use the Rinnai Central™ App for quick, simplified tankless water heater set-up and registration, significantly reducing your install time Accessories Wireless...


